Please use following instructions to setup DERO Node.
System Requirements: Recent 8 cores CPU, 8GB Ram, 100GB SSD/NVME,
Operating Systems and Arch:
Recommended Operating System is latest CentOS but any OS which is supported by Golang like Linux, Windows, Mac(Darwin), FreeBSD etc. and Intel, AMD, ARM processors are fine.
Install chrony(time tool). Chrony is pre-installed on CentOS.
yum install chrony On CentOS/RedHat based systems.
apt install chrony On Debian/Ubuntu based systems.
Step 1] Preparing filesystem.
XFS filesystem is highly recommended for DERO Nodes.
RHEL, CentOS have XFS as default filesystem so no extra steps required.
On other Linux(Debian, Ubuntu, Arch, Kali etc.) pls have XFS partition/disk-file with XFS support.
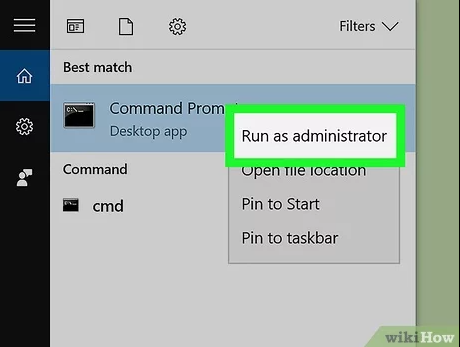
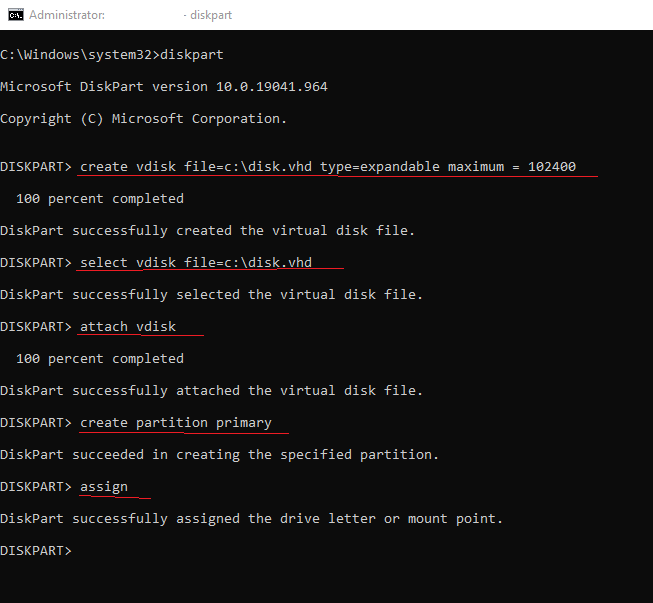
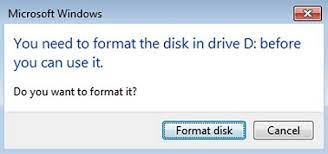
Windows users see this fifth post for performance and sync issues.
Make sure your DERO Node uses any filesystem which has very large number of inodes and good performance to handle large number of small files.
During installation of new Operating System choose XFS filesystem with smallest inode size(like 128/256/512 bytes) and block size. With small inode size there will be very large number of usable inodes on disk.
SSD is highly recommended to store DERO Node mainnet data.
If you have already installed OS without XFS filesystem then create XFS filesystem data container for high performance with following cmds with 100GB:
sudo apt install xfsprogs ntpdate
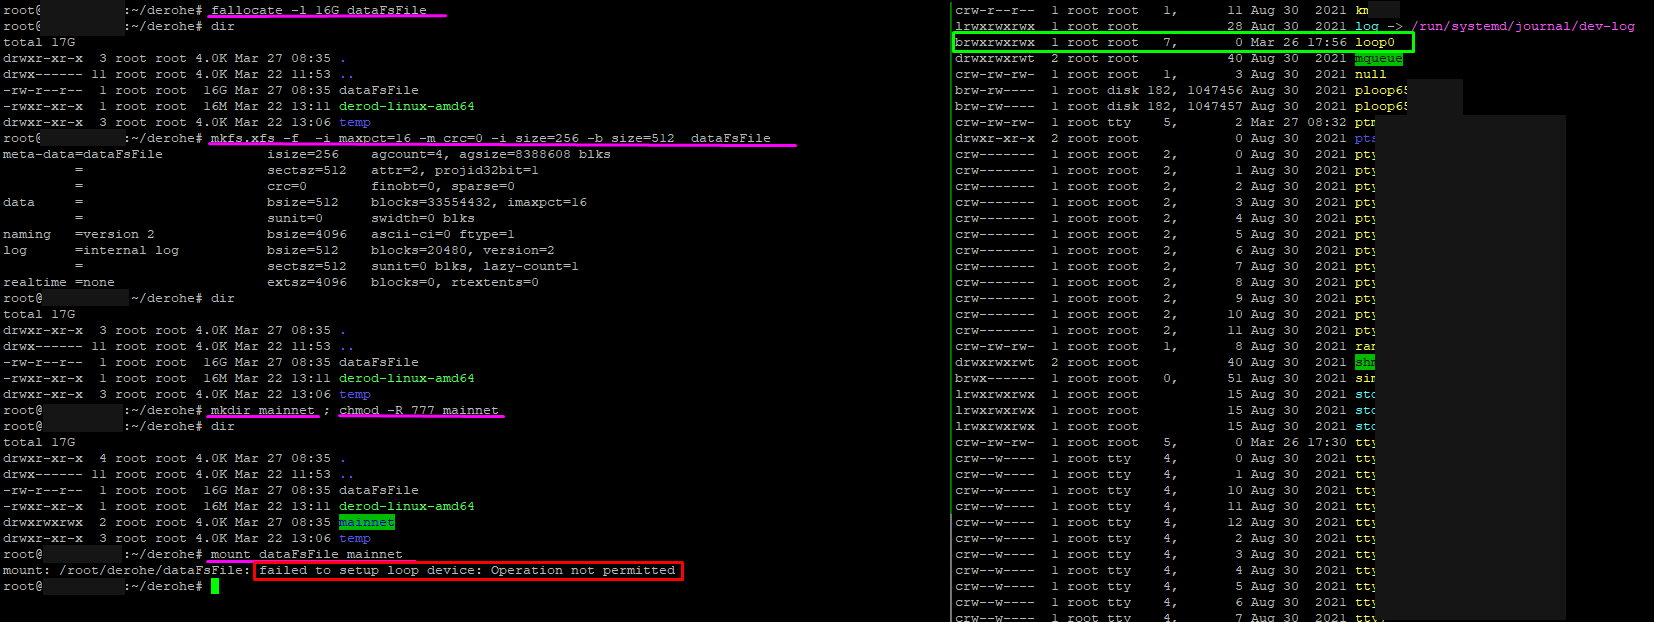
fallocate -l 100G dataFsFile
mkfs.xfs -f -i maxpct=100 -m crc=0 -i size=256 -b size=512 dataFsFile
mkdir dNodedata ; chmod -R 777 dNodedata
mount dataFsFile dNodedata
sudo chmod -R 777 dNodedata
cd dNodedata // Download DERO software and sync in this dNodedata directory
NB: Use dd if fallocate not available dd if=/dev/zero of=dataFsFile bs=1G count=100 . Change count=100 or 200 for 100/200 GB partition. Choice depends on your free space.
use df -i & df -h to check your free inodes and space.
NB: Use sudo or root/admin/superuser account in above commands wherever if requested by your particular OS.
NB: In case of system reboot just use mount cmd again mount dataFsFile dNodedata.
Step 2] Time sync your node.
Make sure your node is time sync always by following or other methods of your choice.
Install chrony by following cmd:
yum install chrony On CentOS/RedHat based systems.
apt install chrony On Debian/Ubuntu based systems.
Use chronyc tracking cmd to verify chrony is working good.
Step 3] Installing DERO Node Software.
Make sure you are in dNodedata directory or any other XFS-folder you created & mounted above. Use pwd cmd to check.
Download latest release from github repo or build from source.
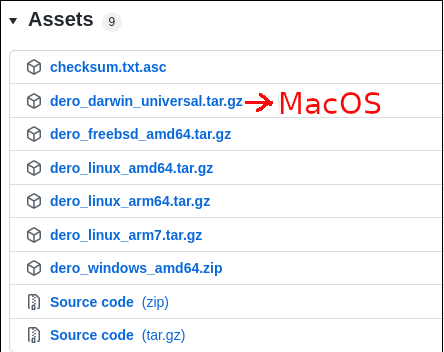
Darwin files are for MacOS.
Arm files are for Raspberry Pis and mobiles.
Following example is for linux 64Bit systems. Download files based on your OS.
Open command prompt and run following cmds to download and start syncing your DERO Node.
wget https://github.com/deroproject/derohe/releases/latest/download/dero_linux_amd64.tar.gz
tar xvzf dero_linux_amd64.tar.gz
cd dero_linux_amd64
./derod-linux-amd64
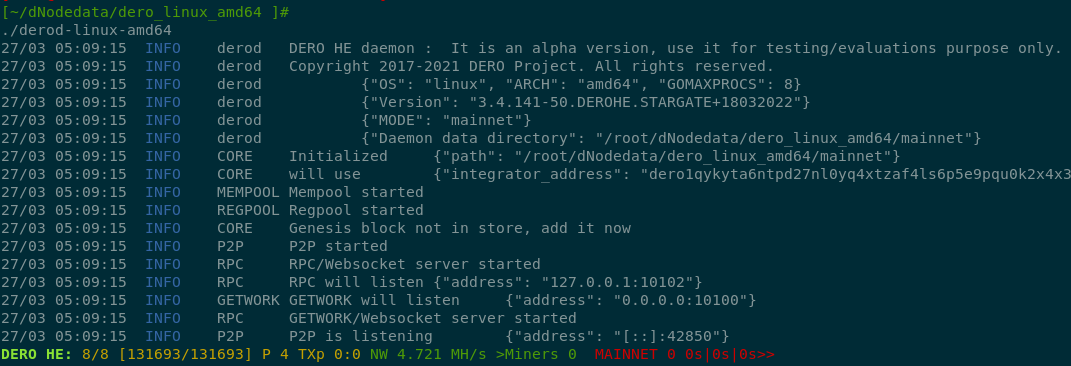
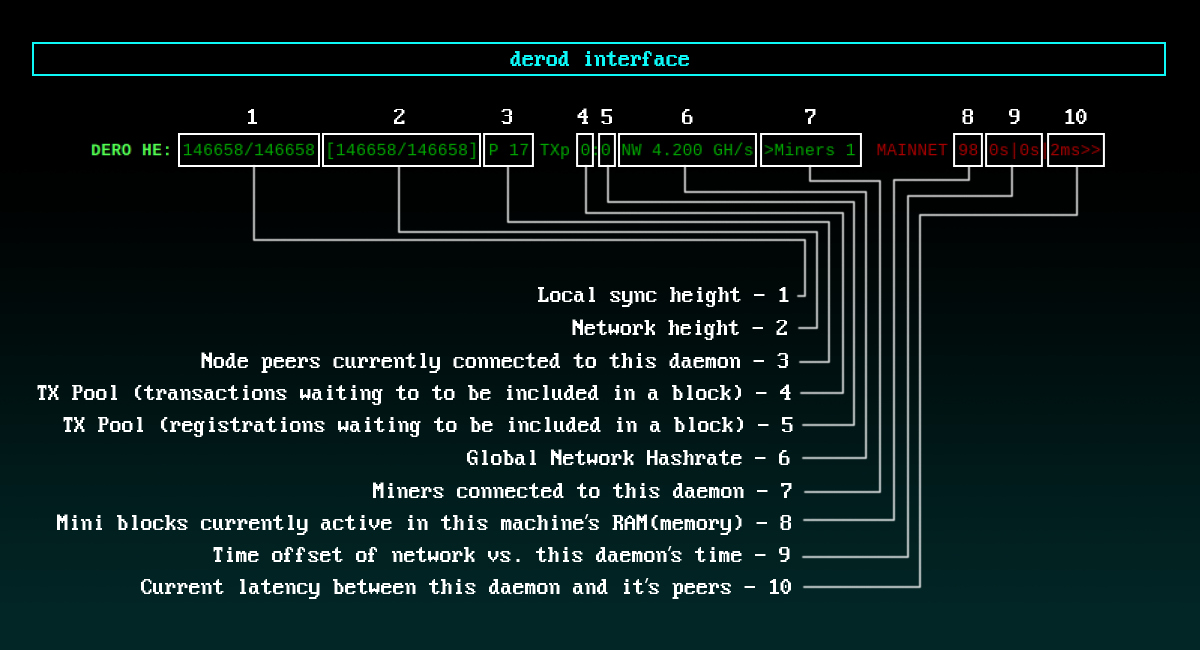
DERO HE: 8/8 [131693/131693] P 4 TXp 0:0 NW 4.721 MH/s >Miners 0 MAINNET 0 0s|0s|0s>>
Decoding DERO Prompt:
Congratulations. Your node is running and syncing.
Now setup DERO Wallet.
NB:
1] Run one DERO node only in your local/home network. Use this single Node/daemon to connect your multiple wallets and miners. Check Home/Local Lan DERO Node Setup.
2] If using VPN make sure it allows UDP connections.
3] If required Increase UDP connections limits etc. in your router.
4] Allow port forwarding to daemon if behind NAT. Start derod daemon with option --p2p-bind=0.0.0.0:50404 and port forward that port eg: 50404 in router to daemon Node/IP.
5] On some Mac machines to run DERO files in terminal you have to run sudo spctl --master-disable.
6] DERO Mainnet Ports:
Mining Getwork Default Port: 10100
Daemon P2P Port: Random UDP port , For static port use --p2p-bind=0.0.0.0:11011 in daemon.
Daemon RPC Default Port: 10102 TCP
Wallet RPC Default Port: 10103  TCP
P2P and mining traffic are encrypted.
7] To urgent download DERO blockchain DB use following cmd & place mainnet folder along with derod binary. Following link is not guaranteed to work all time.
rsync --inplace --port=2048 -a rsync://141.95.86.80/DEROblockchainDB/mainnet ./
Rsync on windows guide.
It is recommended to do normal sync so that blockchain can be verified completely for any hacks, exploits etc. and use above method rarely in case of mainnet DB corruption like power issues etc.
8] Never download and use blockchain DB from any source. Sync & verify your own completely.
9] Run following cmds in root/sudo on Linux machines:
sudo echo "net.core.rmem_default=2097152" >> /etc/sysctl.conf; sysctl -p
For details please see KCPTUN optimizations.
10] Run in terminal before running derod on Linux machines:
echo "ulimit -n 48000" >> ~/.bashrc ; echo "ulimit -n 48000" >> ~/.bash_profile ; ulimit -n 48000 ; source ~/.bashrc
NB: Choose dedicated machine/good VPS with low latency to minernode1.dero.io.
Alternate guides for Node & wallet setup:
CLI Wallet User Guide (Stargate) — DERO Documentation documentation
[SOLUTION] Registering DERO Wallet On Linux (Probably works on Windows/Mac too idk)
Videos:
Storing DERO - Full Node & CLI Wallet Creation Guide - YouTube
Storing DERO - Remote Node & CLI Wallet Creation Guide - YouTube